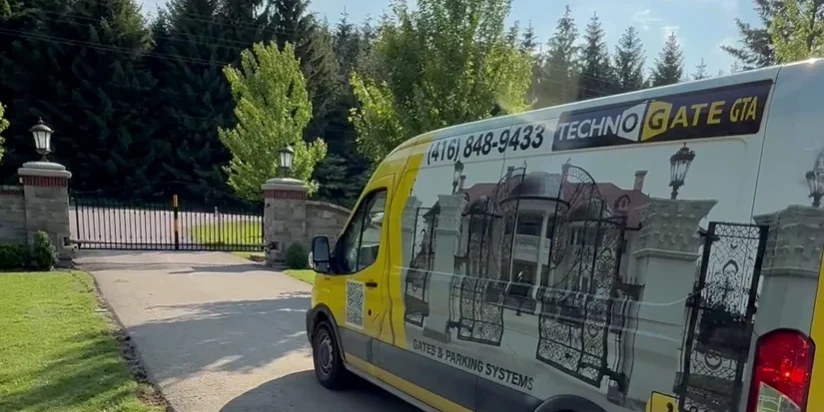
Installing an automatic gate is a great way to boost security, add convenience, and enhance curb appeal. Whether you’re converting an existing manual gate or planning a brand-new installation, following the right process ensures a smooth, safe, and reliable outcome. Below, we walk through each stage, what to look for, and helpful tips along the way.
When you’re ready to make your entrance effortless, here’s the process you’ll want Techno Gate GTA to follow (or help guide you through) for a top-notch automatic gate installation in the GTA.
1. Initial Assessment & Planning
Before any equipment is moved, a thorough site evaluation is essential:
- Check that your current gate or gate location is structurally sound, level, and swings or slides freely without binding.
- Verify driveway layout, slopes, clearance, and obstructions.
- Determine the appropriate type: swing gate, sliding gate, cantilever, or pivot, based on your property’s characteristics.
- Plan electrical access (power source), drainage, and wiring routes.
- Select the automation system: hydraulic vs. electromechanical, AC vs. solar, and safety features (photo eyes, safety edges, intercoms).
Good planning helps avoid surprises and ensures the installation proceeds efficiently.
2. Prepare the Gate & Site
With the plan in place:
- Clear the path of any debris, overgrowth, or obstacles.
- Ensure posts or pillars are secure, stable, and properly aligned. If your posts are not sturdy enough, reinforce them before proceeding.
- If converting from manual, remove or adjust hinges, braces, or hardware that might interfere with automation.
- Confirm that the gate has enough structural integrity to handle the stresses of automation—heavy gates may need reinforcement.
3. Install Mounting Brackets & Opener Hardware
Next comes the heart of the system:
- Attach the mounting brackets to gate posts or support structures. These brackets hold the actuator or motor securely.
- Mount the actuator or opener unit (arm, sliding rack, or hydraulic unit) aligned with the gate movement path. Make sure it is level and stable.
- Fit gate brackets (on the gate leaf or sliding panel) so the actuator connects correctly without binding.
- For sliding systems, install the track or rack that the motor pinion will engage. Ensure the rack is straight, level, and securely fixed.
4. Wiring & Electrical Setup
This step brings your gate to life:
- Run proper gauge wiring from the power source to the control box and from the control box to the motor and safety accessories.
- Install the control panel or controller box in a weather-protected location, elevated enough to avoid flooding.
- Connect safety sensors (photoelectric beams), safety edges, loop detectors, keypads, intercoms, or other accessories per wiring diagrams.
- If chosen, install solar power systems or backup batteries to ensure operation during outages.
5. Calibration & Programming
With the hardware in place and powered:
- Program opening and closing limits so the gate stops in the right positions.
- Adjust force and speed settings to balance safety and responsiveness (so the gate can detect obstructions).
- Test safety features: ensure the gate reverses if sensors detect an obstacle, and that edges stop motion when pressed.
- Set remote controls, keypads, or access credentials and test signals from various distances.
6. Testing & Fine-Tuning
Before calling it done:
- Operate the gate multiple times to check consistency, smoothness, and reliability.
- Inspect all mounting points, bolts, and connections to confirm nothing loosened during motion.
- Confirm that in a power cut, the manual override or release mechanism works properly.
- Test all safety interlocks, sensors, and auxiliary features (lighting, intercom, backup battery).
- Adjust as needed until operation is flawless.
7. Final Touches & Maintenance Setup
To finish strong:
- Secure cable runs, weather-seal junctions, and tidy wiring.
- Apply protective coatings or paint where the hardware or posts were drilled.
- Place warning signs alerting users to automatic operation and safety dangers.
- Provide door hardware details and a maintenance schedule to the owner (lubrication, inspections, sensor cleaning).
Why a Proper Installation Matters
Automatic gates aren’t simple add-ons — the integration of mechanical, electrical, and safety systems means precision is vital. Getting the alignment wrong, skipping safety devices, or underestimating wiring needs all open the door to malfunctions, early wear, or safety risks. A correctly installed system works reliably over years, adds security, and increases property value.
If you’re planning to automate your gate, Techno Gate GTA is ready to manage every stage—from design and permitting to wiring, programming, and handover. Let us handle the technical complexities so your first impression is seamless, convenient, and secure.


